
So recently I've been taking Gary Meyer's "Painting Object and Environments" class at 3Kicks Fine Art Studios.
Week 1 - Basic Forms
In class we paint on relatively large illustration board like so. Here we see Gary Meyer toning the background, plotting some basic perspective line getting ready to paint some geometric shapes. He briefly goes over perspective in a minute, but I recommend you already know it.

Gary explains there are 4 different cases for shadows/ light sources. (He goes over this at lightspeed, so forgive me if my info is incorrect.)
1) Positive Sun - Light is shining towards you
2) Negative Sun - Light is shining away from you (requires Auxiliary vanishing point and shadow vanishing point)
3) Parallel Sun - Shadows are parallel to horizon line.
4) Artificial Light
We use a triangle ruler for the straight edges, and we make sure to use a smaller brush when we want to get neat edges and details.

Center of Light is different from highlight. Center of light shows the form and doesn't move. Highlight will move depending on what angle you see the object.

As you can see, the end result is very clean. That is because Gary repainted it many times until he got it right. I usually see other teachers who rush to get it right on the first try like a magic trick. But you kind of see Gary struggle and paint things again and again until the edges and values are correct. He even uses a ruler for the straight edges - which is a really interesting technique I haven't seen before.

Below is my class work. Towards the left you see what I accomplished in class. To the right is after I took it home and cleaned it up.


Week 2 - Head Painting Demo
In this week, Gary paints a head from imagination - showing you the basic principles of constructing a head. He briefly goes over the proportions and stuff. But what I think is really interesting is his material indication.
Here you have a chrome ball, a glass ball and a ruby ball. Why is this relevant? The human has the properties of all 3 materials. So the human eye has these properites.. it's going to be darker towards the lightsource... cuz it's kinda like a ruby. Then it's going to be more saturated towards the bottom. There is going to be a little blue reflection across the pupil cuz it's kinda like glass. And there is bright white highlight toward the lightsource.


So in the class, I start to see how Gary paints differently from other fine artists. Gary is not painting based on observation of light and shadow shapes, but painting based on his understanding of the optical properties of materials and objects.
Week 3: Head Painting
This is my painting from that class.

Gary's Demo


Week 4 - Cityscape and Buildings
Ah! ... so I forgot my camera this week so I don't have step-by-step shots. I'll just try to explain it with words. This is my painting from that class.

Gary paints this in a very methodical and rational fashion. First he tones the background, then he paints the street and side walk. He uses rulers the entire time so that everything is straight and in perspective. Then he paints the buildings one by one. To paint the windows, he will paint black stripes across the building. Then he paints white stripes across the building. If the space doesn't look right, he will repaint it several times until it's correct. If it doesn't look right, repainting a building is pretty fast - he says. Takes only about 25 min when you are good at it.
So he slowly does the other buildings, sidewalks, and details and stuff. Slow and steady wins the race basically. Slow and steady. If it's incorrect the first time, he does it again. Gary describes he painting method as a "series of corrections."
This is the demo he did that day in class.

So what's cool about Gary's class is that he brings in all these paintings/ demos that he did in the past. He painted these all from IMAGINATION. No reference at all. For homework, he allows you to take one of his many paintings home and use it as reference so you can finish the painting. (I don't know any other teacher who would let you do that). It is cool because there is so much more you can see in an original painting than a digital file.


Week 5: Seascapes
Step 1: Create sky and ocean. Start creating waves - sort of like mountains.
Make sure the waves are different sizes so it looks natural.
Add the white water splashes/ foam.

Step 2: Add translucency to the waves to show that light is passing through. Add streamers from water splashes. It is opaque because foam is thicker than water. Make sure it helps to show form.

Step 3: Add boats, UFO, objects to taste. Make sure to show light source reflecting the waves. The reflection travels a long way.

An old demo he did...

My painting


Week 6: Figure Painting
Gary's Demo.

My painting. The model was wearing a really interesting costume, so I'd thought I would paint that first. Mistake. I ran out of energy after I painted the costume, so the face looked like shit.


A cool old demonstration he brought.

Week 7: Landscape
My Painting

I think this is pretty self explanatory. He paints the sky, mountains, trees, bushes etc... Again, what he is really doing is a "series of corrections." There is no quick fast way to painting it. He paints it again and again until he gets it correct.


These are some other old demos he brought in. Again, he allows you to take one home for reference when you are doing homework. Pretty cooooool! I think one of the biggest difference in this traditional class is that I get to work BIG! When you are doing digitally, you are limited to the size of your computer monitor. When you are doing traditional painting, the process becomes much more VISCERAL. It feels different because your painting is a physical object that is in front you. The way you zoom in and out, rotate, and look at your painting just feels different. The way you paint detail in a way that is much more intuitive.


Week 8: Nightscape (This week was friggen dope)
Step 1: Gradation for sky. Start laying in buildings.

Step 2: Add buildings, make sure they are in perspective. Use ruler to clean up edges. Here you see him using the ruler technique. Only one edge of the ruler is on the painting. The brush barrel slides along the ruler. Your fingertip is used to guide your brush along the ruler. Requires many hours of practice.

Step 3: Start to add light sources

Step 4: Add more lightsources. For windows, paint rectangles of light in yellow. Then go back in a darker color to carve out the windows. Go back and forth until you get the shapes right. Add variances in color to make it more realistic. The windows will catch the light, so show the thickness of the windows with a lighter color.
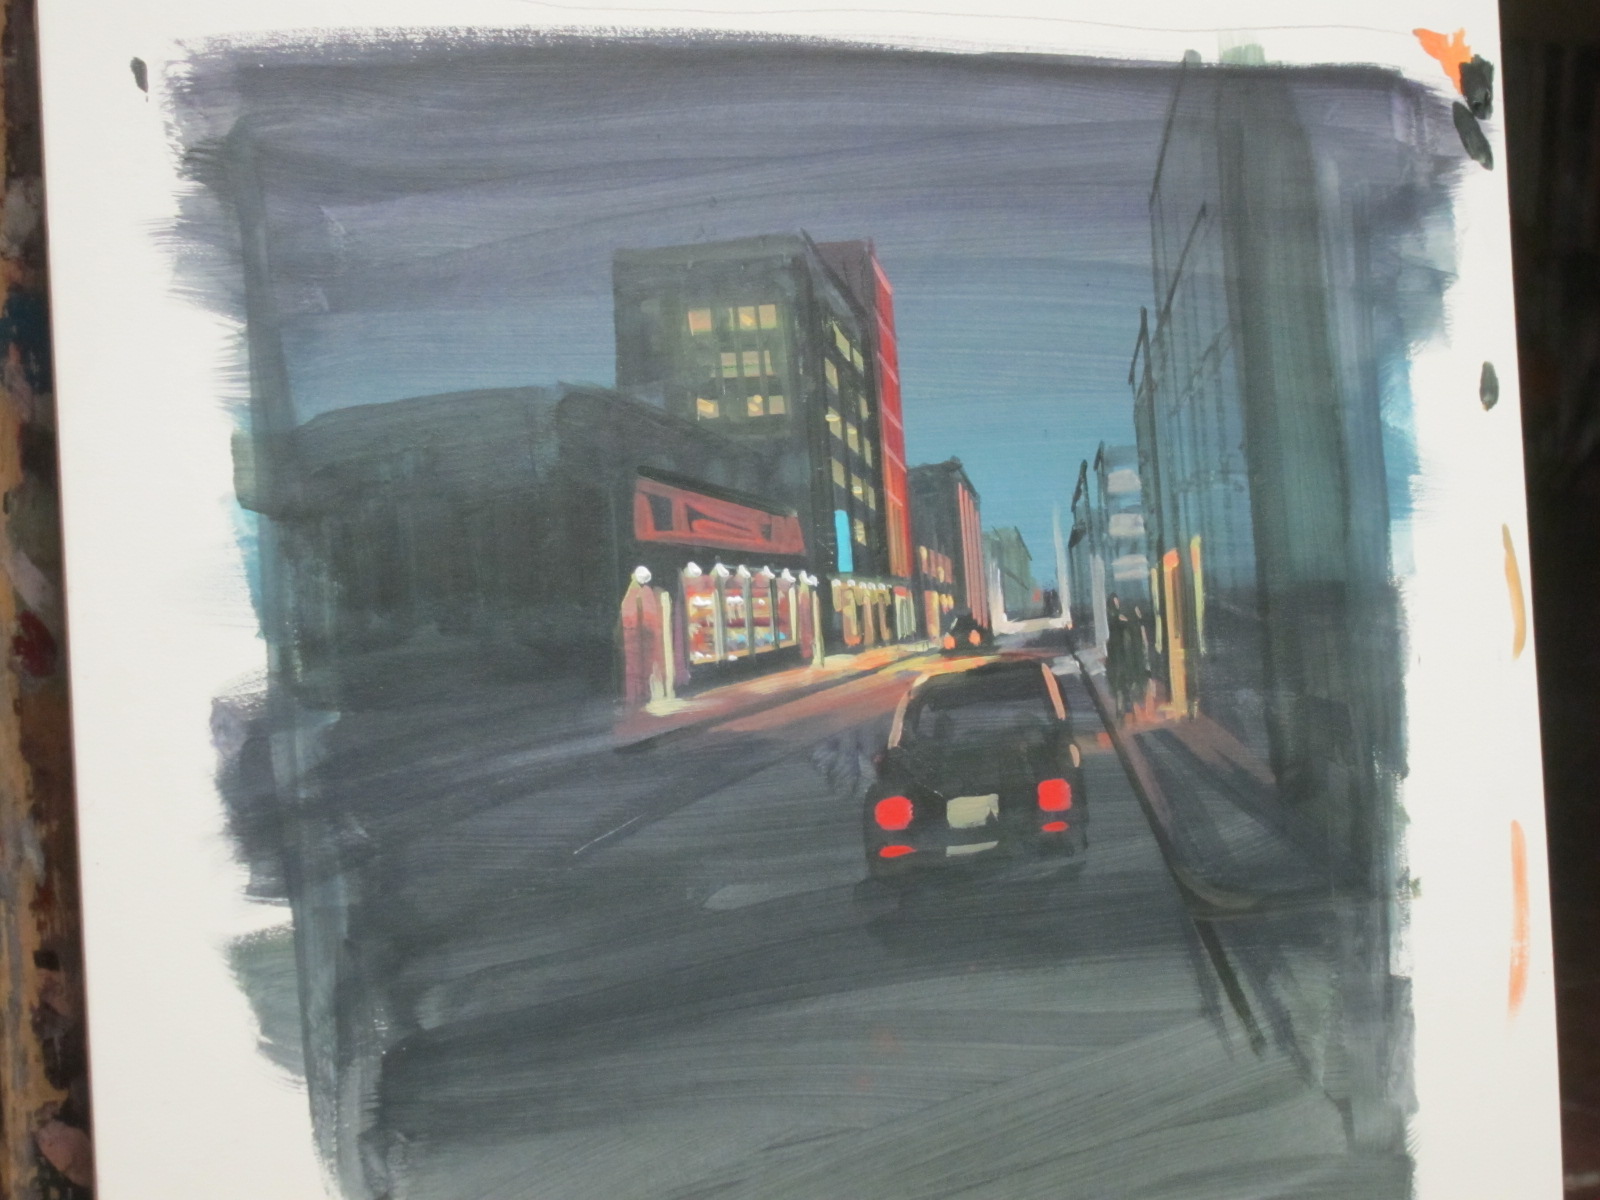
Step 5: Painting in the glow of the street lamps.

Step 6: Added some foreground people (my request)

My painting

Week 9: Figure
So most of the figure painting teachers in the past (Sean Cheetham and Nathan Fowkes) tend to leave the shadows really dark - chiaroscuro style - when they paint the figure. Gary Meyer doesn't do that at all. He intentionally lights up the shadow side with a cool light so it looks like it's window light. It's interesting because now you have to paint BOTH the shadow and the light side. Most fine artists will make one side very dark for artistic purposes, but Gary kinda just paints everything. And it still looks good!
Gary's Demo

My painting


Week 10: Shiny Objects
Step 1: Here Gary starts off by constructing the plane. Gary was in the marines and has done many airforce illustrations, so he understands the anatomy of an airplane like a doctor understands the bone structure of the human body. Understanding the construction is very important. It is obvious that much study and knowledge went into this drawing.

Step 2: Gary starts to create the reflective surfaces. The top plane of the airplane reflects the sky while the bottom of the airplane reflects the ground. Whenever Gary paints a reflective surface, he always makes sure to give it some kind of context or background - otherwise, the object is just reflecting nothing. Gary spends some time painting in the background. 

Here Gary goes into why chrome objects look the way they do. It is darker blue on the top of the object, because the sky is darker as you get away from the horizon line.


Step 3: Gary goes into great detail with the windows, engines and wings. Gary really understands the window shapes and is very accurate about the detail. So it's not just how you are painting, but WHAT you are painting. Understanding is very important..
Step 4: At this point the students in the class start working on our own painting. Gary just tightens up the painting and bring it to a finish.

This is my painting from that class.


Overall Review

Overall this was a really enjoyable class. As you can see there were only 2 people in the class - so it was basically private lessons. Gary usually comes an hour before class, so if you show up early, you can show him your work and he can give you critiques. I regular show Gary my theme park illustrations and he gives him really good advice on how to improve my paintings. Even though Gary is a bit on the older side, he is more humorous, energetic and lively than other art teachers I've taken class which. Gary is enthusiastic about what he teaches and teaches it very well.
As for the cons of the class - it did feel a little bit rushed. The class was designed to be a 15 week - 5 hours/ class for Art Center students, but it was shortened to 10 weeks at 3 hours/ class for 3 Kicks. So you have to really be on your toes because Gary does go through a lot of material and content in a short amount of time. Gary is really easy going, you will will need to be self-disciplined about doing your homework. He won't harp on you if you are being lazy (I didn't do my homework many weeks). But $540 for weeks - $54 for a 3 hr semi - private lesson - I felt like I really got the bang for my buck. Sometimes I wish there were more students in the class, but overall it was certainly a great experience.
Thank you Mr. Meyer!
wow you got to paint with the great Gary Meyer! Awesome Chris!
ReplyDeletethanks for the post chris..
ReplyDelete